Every major operating system includes a built-in screen recorder – no downloads required. Whether you need to capture a bug to report, record a tutorial, or save a video call, this guide shows you exactly where the tool is on each platform and its key limitations.
How to Record Your Screen on Windows
Xbox Game Bar (Windows 10 and 11)
Press Windows + G to open the Xbox Game Bar overlay. Click the Capture widget (camera icon), then click the circle (record) button to start recording. Press Windows + Alt + R to start and stop recording without opening the overlay. Recordings are saved as MP4 files in Videos > Captures.
Limitation: Xbox Game Bar only records one app at a time – it does not capture the full desktop or File Explorer. It works best for recording games, browser windows, or individual apps. If you need to record the whole screen including the desktop, use the Snipping Tool or OBS.
Snipping Tool (Windows 11)
Windows 11’s updated Snipping Tool (updated in version 22H2) can record a selected area of the screen, not just screenshots. Open Snipping Tool (search for it in Start), click the video camera icon to switch to recording mode, drag to select the area you want to record, and click Start. Stop recording with the Stop button or Windows + Shift + Q. Unlike Game Bar, this records any area of the screen including the desktop.
How to Record Your Screen on Mac
Screenshot Toolbar
Press Command + Shift + 5 to open the screenshot toolbar. The last two icons in the toolbar are for screen recording: Record Entire Screen and Record Selected Portion. Click the icon you want, then click Record. Click the stop button in the menu bar (or press Command + Control + Esc) to finish. Recordings save to the Desktop as .mov files by default, though you can change the save location in the options menu.
To include audio from your microphone in the recording, click Options in the toolbar and select your microphone under “Microphone.” System audio (sounds from the Mac itself) cannot be captured without a virtual audio driver like BlackHole – a free tool worth installing if you regularly record tutorials.
QuickTime Player
Open QuickTime Player and go to File > New Screen Recording. A recording toolbar appears. Click the dropdown arrow next to the record button to select your microphone and whether to show mouse clicks. Click the red record button, then click anywhere to record the whole screen or drag to select a region. Stop with the stop button in the menu bar.
How to Record Your Screen on iPhone
Add Screen Recording to Control Center: go to Settings > Control Center and tap the + next to Screen Recording.
Swipe down from the top-right corner of the screen to open Control Center.
Tap the Screen Recording button (circle with a dot). After a 3-second countdown, recording begins. A red bar or indicator appears at the top of the screen while recording.
To stop: tap the red indicator at the top and confirm, or open Control Center and tap the Screen Recording button again.
Recordings are saved to the Photos app. To include microphone audio in the recording, press and hold the Screen Recording button in Control Center and toggle on the microphone before starting.
How to Record Your Screen on Android
Android has a built-in screen recorder, though its location varies by manufacturer:
Stock Android (Pixel): Swipe down twice to expand Quick Settings, tap Screen Record, select your audio options, and tap Start.
Samsung One UI: Swipe down from the top, find Screen Recorder in Quick Settings (you may need to edit Quick Settings to add it), tap it, and select audio options before starting.
Other manufacturers: Look for Screen Recorder in Quick Settings or in the Control Center. If not available, it may be in the phone’s built-in tools app.
Recordings are saved to your Gallery or a Screen Recordings folder in internal storage. Tap the stop button in the notification shade to end recording.
When Built-In Tools Are Not Enough
Built-in recorders are fine for basic captures, but lack features like multi-source mixing, real-time annotation, scheduled recording, and streaming. For those use cases:
OBS Studio (free, Windows/Mac/Linux) – the standard for streaming and recording simultaneously; steep learning curve but very powerful
Loom – browser-based, shares recordings instantly as a link; great for work tutorials and async video messages
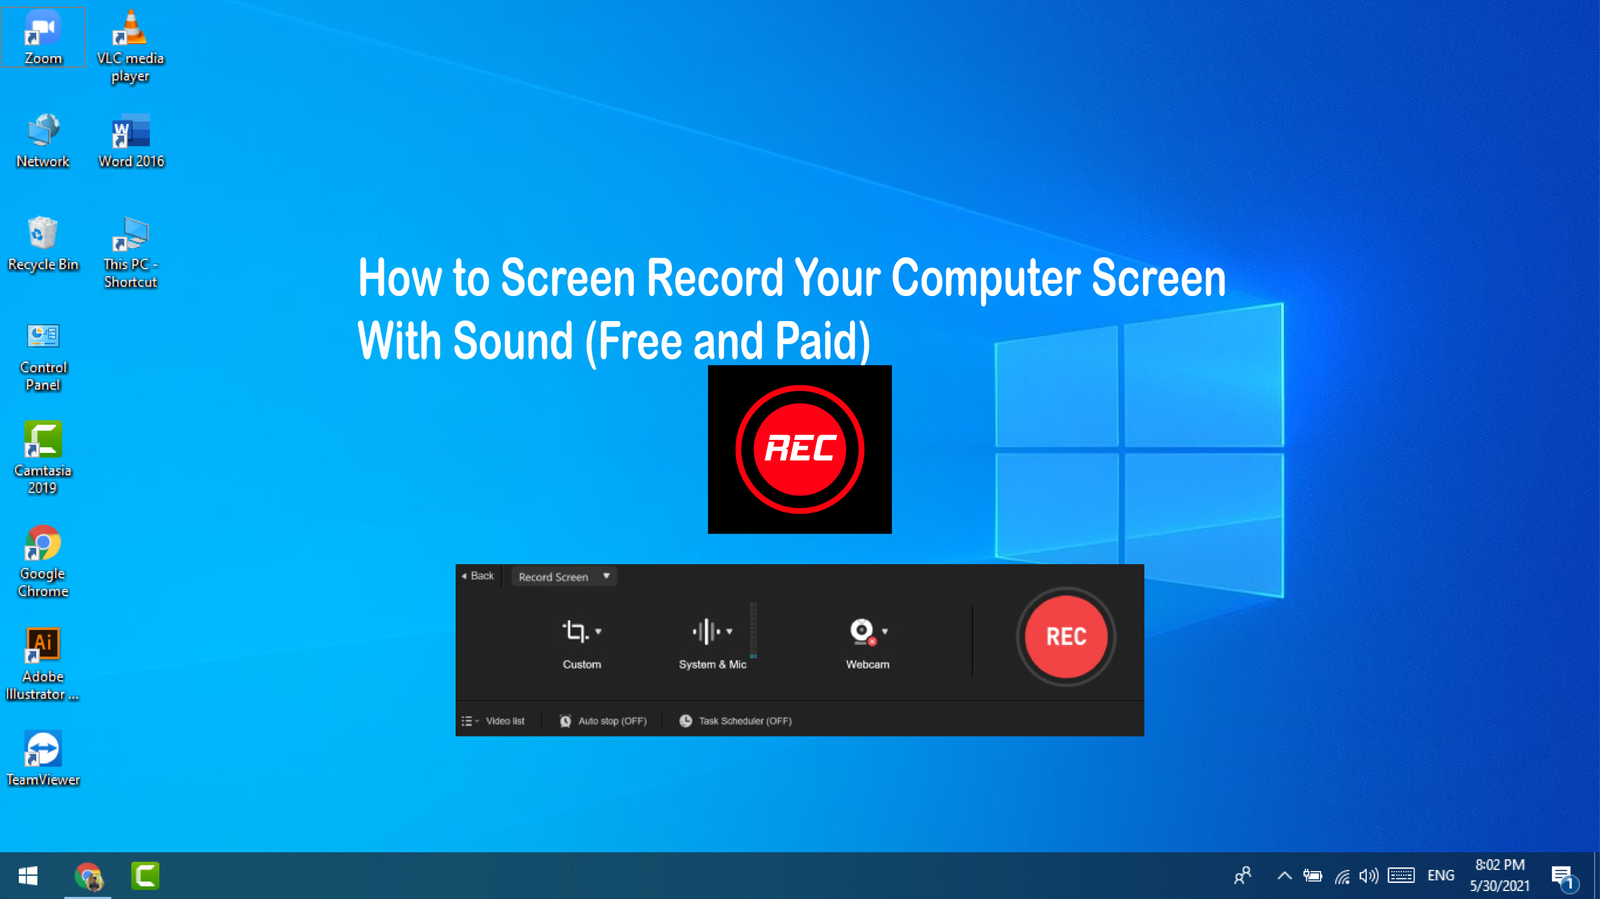
Camtasia – paid, Windows/Mac; designed for tutorial creation with built-in editor
For more context on dedicated screen recording apps and their differences, see our best screen recording software roundup which compares the top paid and free options side by side.
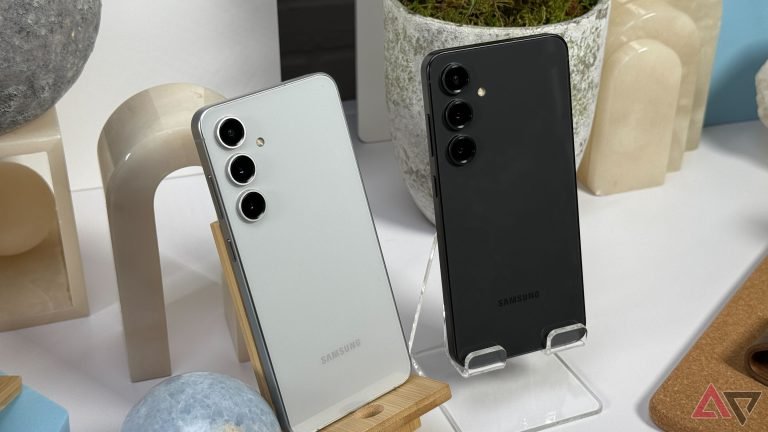
The Galaxy S25 packs the Snapdragon 8 Elite, 50MP triple camera, and 7-year updates into a $799 package. It is lighter than the iPhone 16 Pro and matches it on most spec sheets.
A clean install of Windows 11 wipes your drive and starts fresh – faster boot times, no bloatware, and no accumulated junk from years of software installs. Here is exactly how to do it safely.
Your Windows PC does not have to feel sluggish forever. These 12 practical steps can cut boot times and improve everyday performance without spending much.
The OnePlus 13 pairs a Snapdragon 8 Elite chip with 100W wired charging and a Hasselblad-tuned camera at $899. The most overlooked flagship Android phone in 2026.
The Galaxy S24 FE arrives at $649 with an Exynos 2500 chip and a 50MP triple camera. Samsung’s fan-focused model has promise but one major spec disappointment.

")


 Review: Finally a Budget iPhone Worth Recommending")